
How to install Plane on VPSnet
Managed install of Plane from the Applications panel with HTTPS included. Account setup follows this application’s own first-run flow.
Prerequisites
Only what you need before the install steps below — nothing repeated from the guide.
A VPSnet account with access to the control panel.
A VPS or Cloud VPS that meets the Plane resource guidance on the product page.
Install Plane from the panel
Follow the Applications panel path end to end. Each step covers one action only.
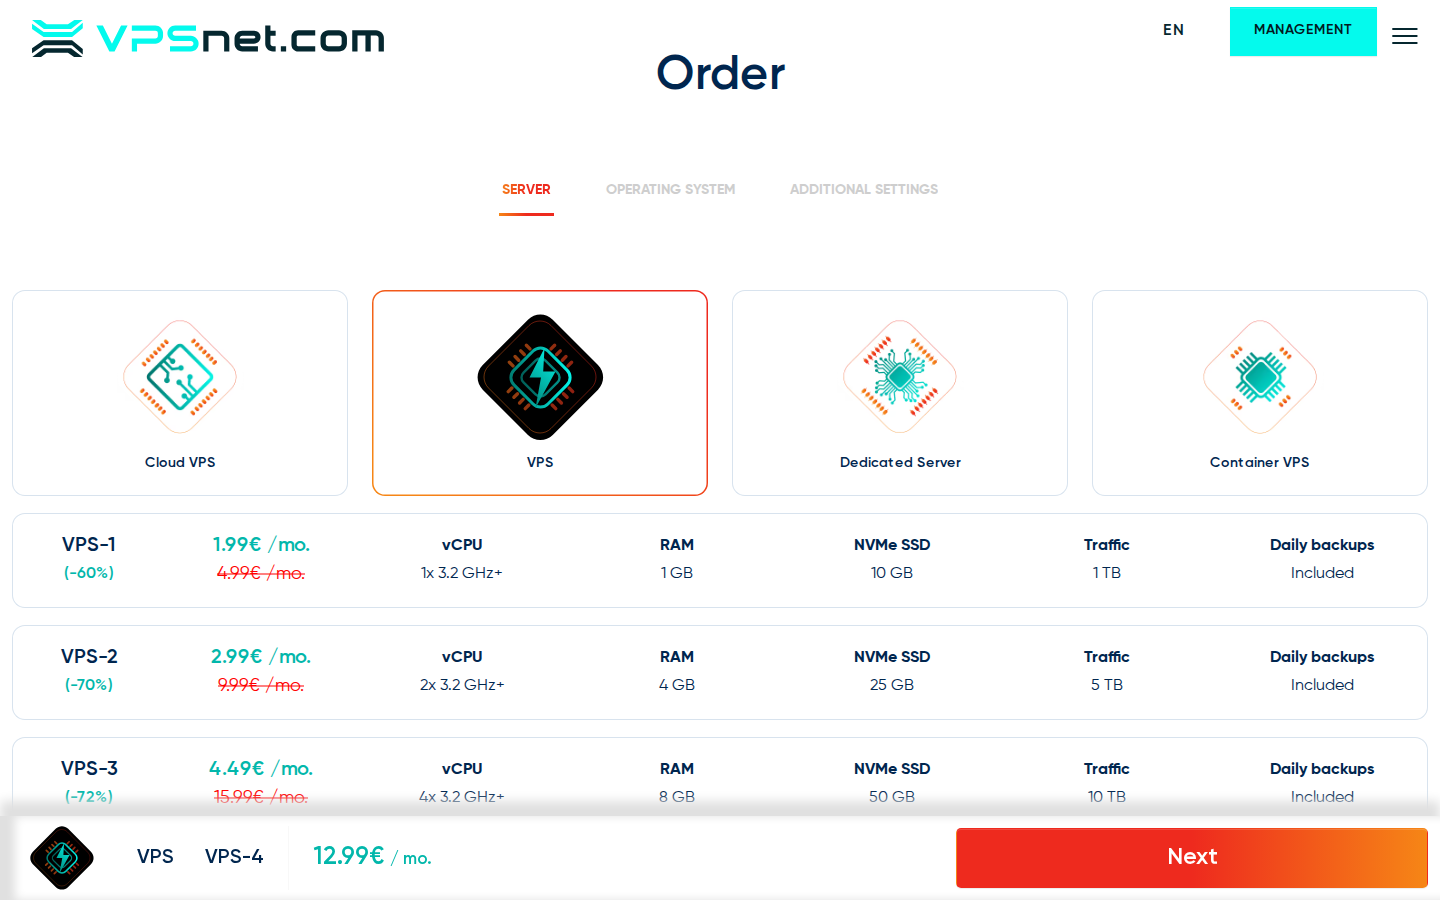
Choose a plan for Plane
Open the Plane product page and note minimum and recommended vCPU, RAM, and disk. Order a new Cloud VPS or VPS, or use a running server that still has free capacity.
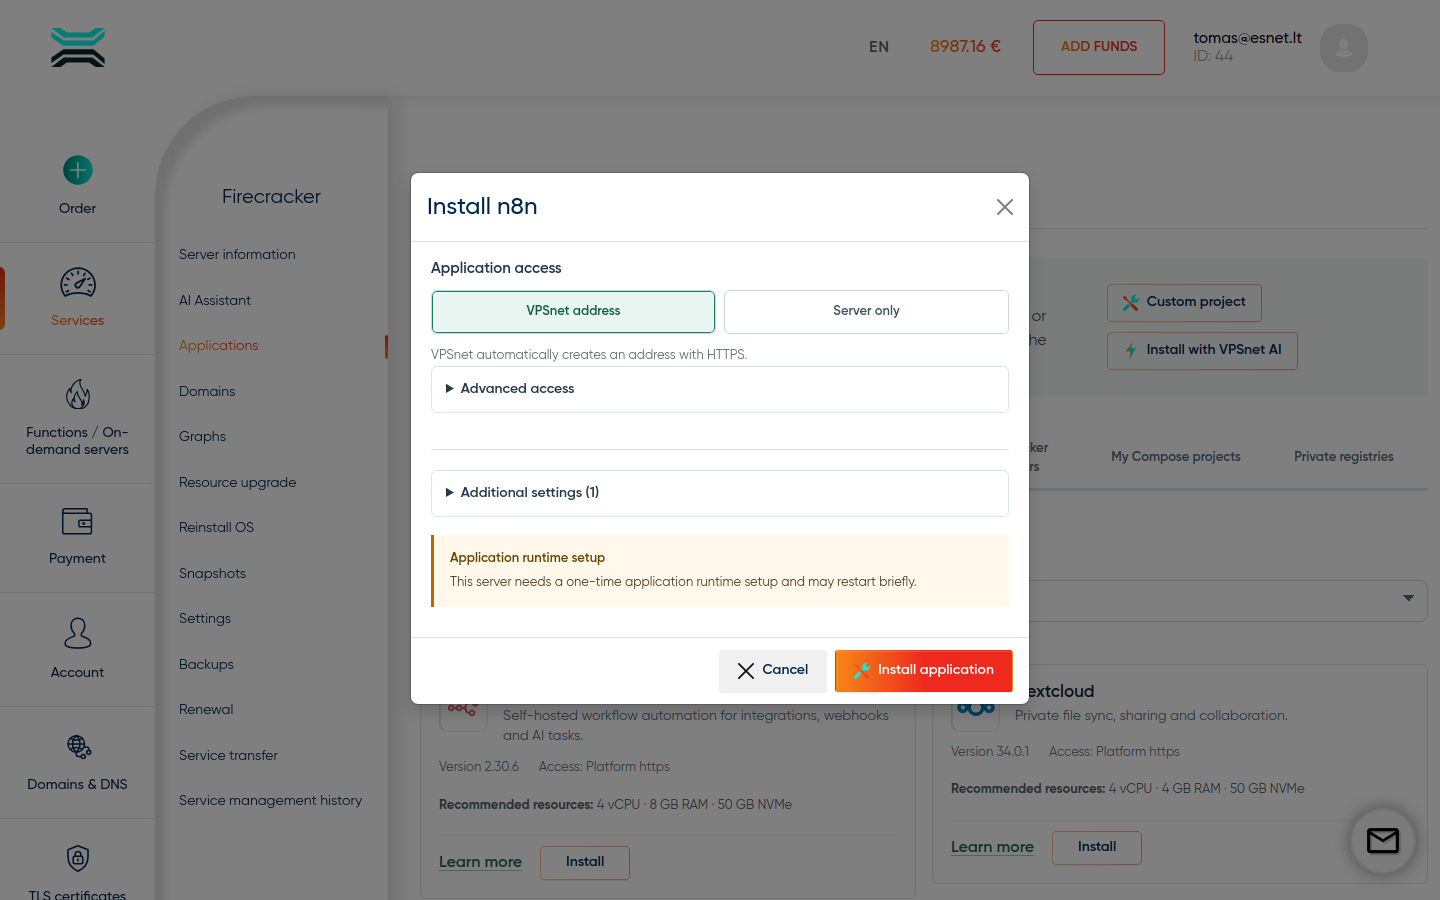
Install from Applications
In the service panel open Applications → Plane → Install. Leave VPSnet address selected unless you need another mode under Advanced access. This recipe version exposes no Additional settings, Optional packs, or one-time panel credentials. Click Install — defaults are enough. If the panel shows an Application runtime setup notice, Install still proceeds — there is no extra checkbox.
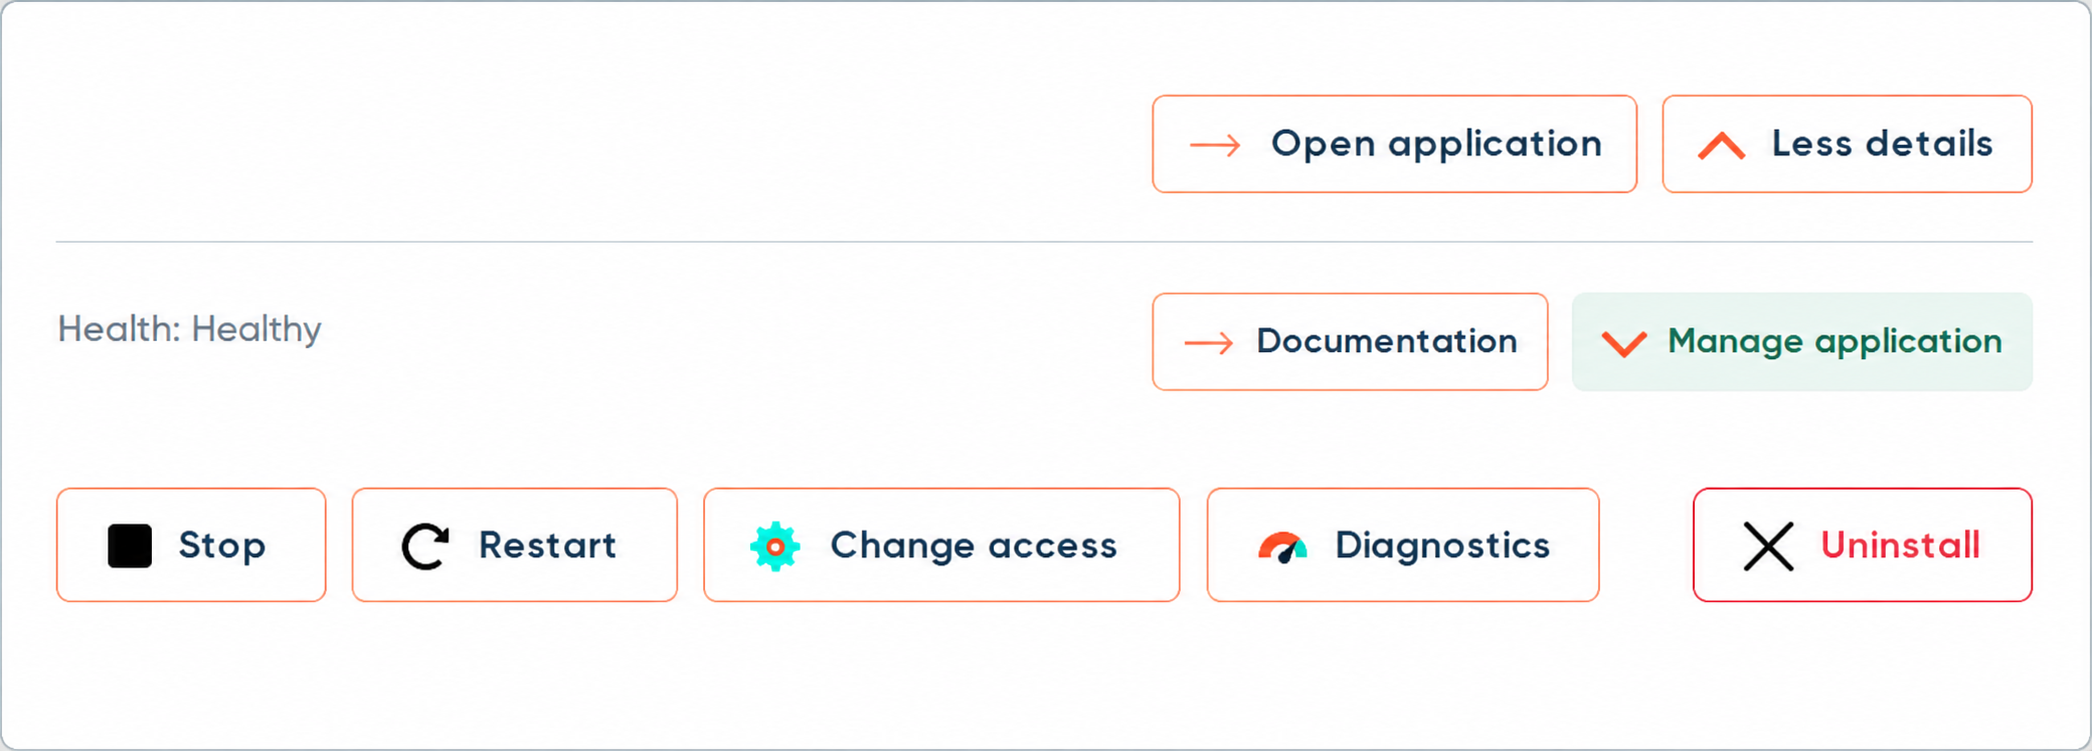
Open the managed HTTPS URL
When Plane exposes a web UI, VPSnet assigns a *.vpsnet.cloud hostname. A short Certificate pending state is normal while DNS and SSL finish. When the status is active, use Open URL in Applications.
Finish your first task in Plane
Open Plane and follow its owner setup or sign-in flow. Then complete one useful first task (create a project, publish content, or run the primary workflow). This confirms that the application is ready to use.
Step 04Plane after completing its first useful taskPlaneScreenshot coming from a live install — layout reserved so the guide stays visual.Operate from the panel
Use Applications for restart, logs, health, update, and uninstall. Avoid editing the host Compose by hand — catalog installs are version-pinned managed recipes.
Options in the install dialog
The Applications → Install dialog is more than a single Install button. These controls appear when the recipe supports them. Safe defaults apply if you leave optional fields unchanged.
Application access
Choose how you reach the app at install time: VPSnet HTTPS (managed *.vpsnet.cloud), Private (this server only), Public IP (cleartext HTTP), Managed HTTPS on a DNS zone you own, or External HTTPS when you terminate SSL. You can change this later on the installation page.
Additional settings
This recipe version exposes no customer-editable Additional settings or Optional packs. Choose Application access and confirm a runtime restart if the panel asks.
Runtime restart
The first managed app on a server may need a short runtime restart. The dialog asks for confirmation. Later installs on the same server usually skip this.
First usage of Plane
After Open URL, complete the application’s own owner setup or sign-in flow. Then finish one real task so the install is useful, not only healthy.
Sign in or create the first admin
Follow the application’s own owner setup or sign-in flow. Choose and store a strong password when the application asks for one.
Finish any in-app setup wizard
Many apps ask for site name, timezone, language, or a first workspace on first open. Complete that wizard before you invite others. Optional packs (ADDON_/PACK_ flags) are pinned at install — they still need their own first-run screens inside the app.
Do one real job, then operate from the panel
Publish content, create a project, send a test, or run the primary workflow. That confirms the install is useful. Restart, logs, health, update, and uninstall stay in Applications — do not edit host Compose by hand.
All configuration variables
This recipe version exposes no customer-editable configuration fields and does not generate one-time panel credentials. Complete account setup inside the application.
This recipe version exposes no customer-editable configuration fields and does not generate one-time panel credentials. Complete account setup inside the application.
How you reach the app and set up your account
This recipe does not generate one-time panel credentials. Open the application and follow its own owner setup or sign-in flow.
Sizing and tested targets
| Requirement | vCPU | RAM | NVMe |
|---|---|---|---|
| Minimum | 4 | 8 GB | 30 GB |
| Recommended | 8 | 16 GB | 100 GB |
| Server type | Operating system | Architecture |
|---|---|---|
| VPS | Almalinux 10 | x86_64 |
| VPS and Cloud VPS | Almalinux 9 | x86_64 |
| VPS | Centos stream 10 | x86_64 |
| VPS and Cloud VPS | Centos stream 9 | x86_64 |
| VPS | Rocky 10 | x86_64 |
| VPS and Cloud VPS | Rocky 9 | x86_64 |
| VPS and Cloud VPS | Ubuntu 24.04 | x86_64 |
| Cloud VPS | Almalinux 8 | x86_64 |
| Cloud VPS | Arch latest | x86_64 |
| Cloud VPS | Debian 11 | x86_64 |
| Cloud VPS | Fedora 39 | x86_64 |
| Cloud VPS | Fedora 40 | x86_64 |
| Cloud VPS | Opensuse 15.5 | x86_64 |
| Cloud VPS | Oracle 9 | x86_64 |
| Cloud VPS | Rocky 8 | x86_64 |
| Cloud VPS | Ubuntu 20.04 | x86_64 |
FAQ
01Why does Applications not show a generated password?
This recipe does not generate one-time panel credentials. Complete the application’s own owner setup or use the account model documented by the application. VPSnet will not invent or email a password for it.
02Open URL still shows Certificate pending after several minutes.
Confirm the install health is green, then wait for DNS/SSL to finish. If access settings offer temporary public HTTP, you can use it only as a short workaround.
03I need environment variables that are not in the install form.
Only customer-editable blueprint fields are exposed at install and in the table below. Remaining env belongs to the managed recipe. Custom Compose is a separate advanced option when enabled on the service.